
Blooming shawl
Intro
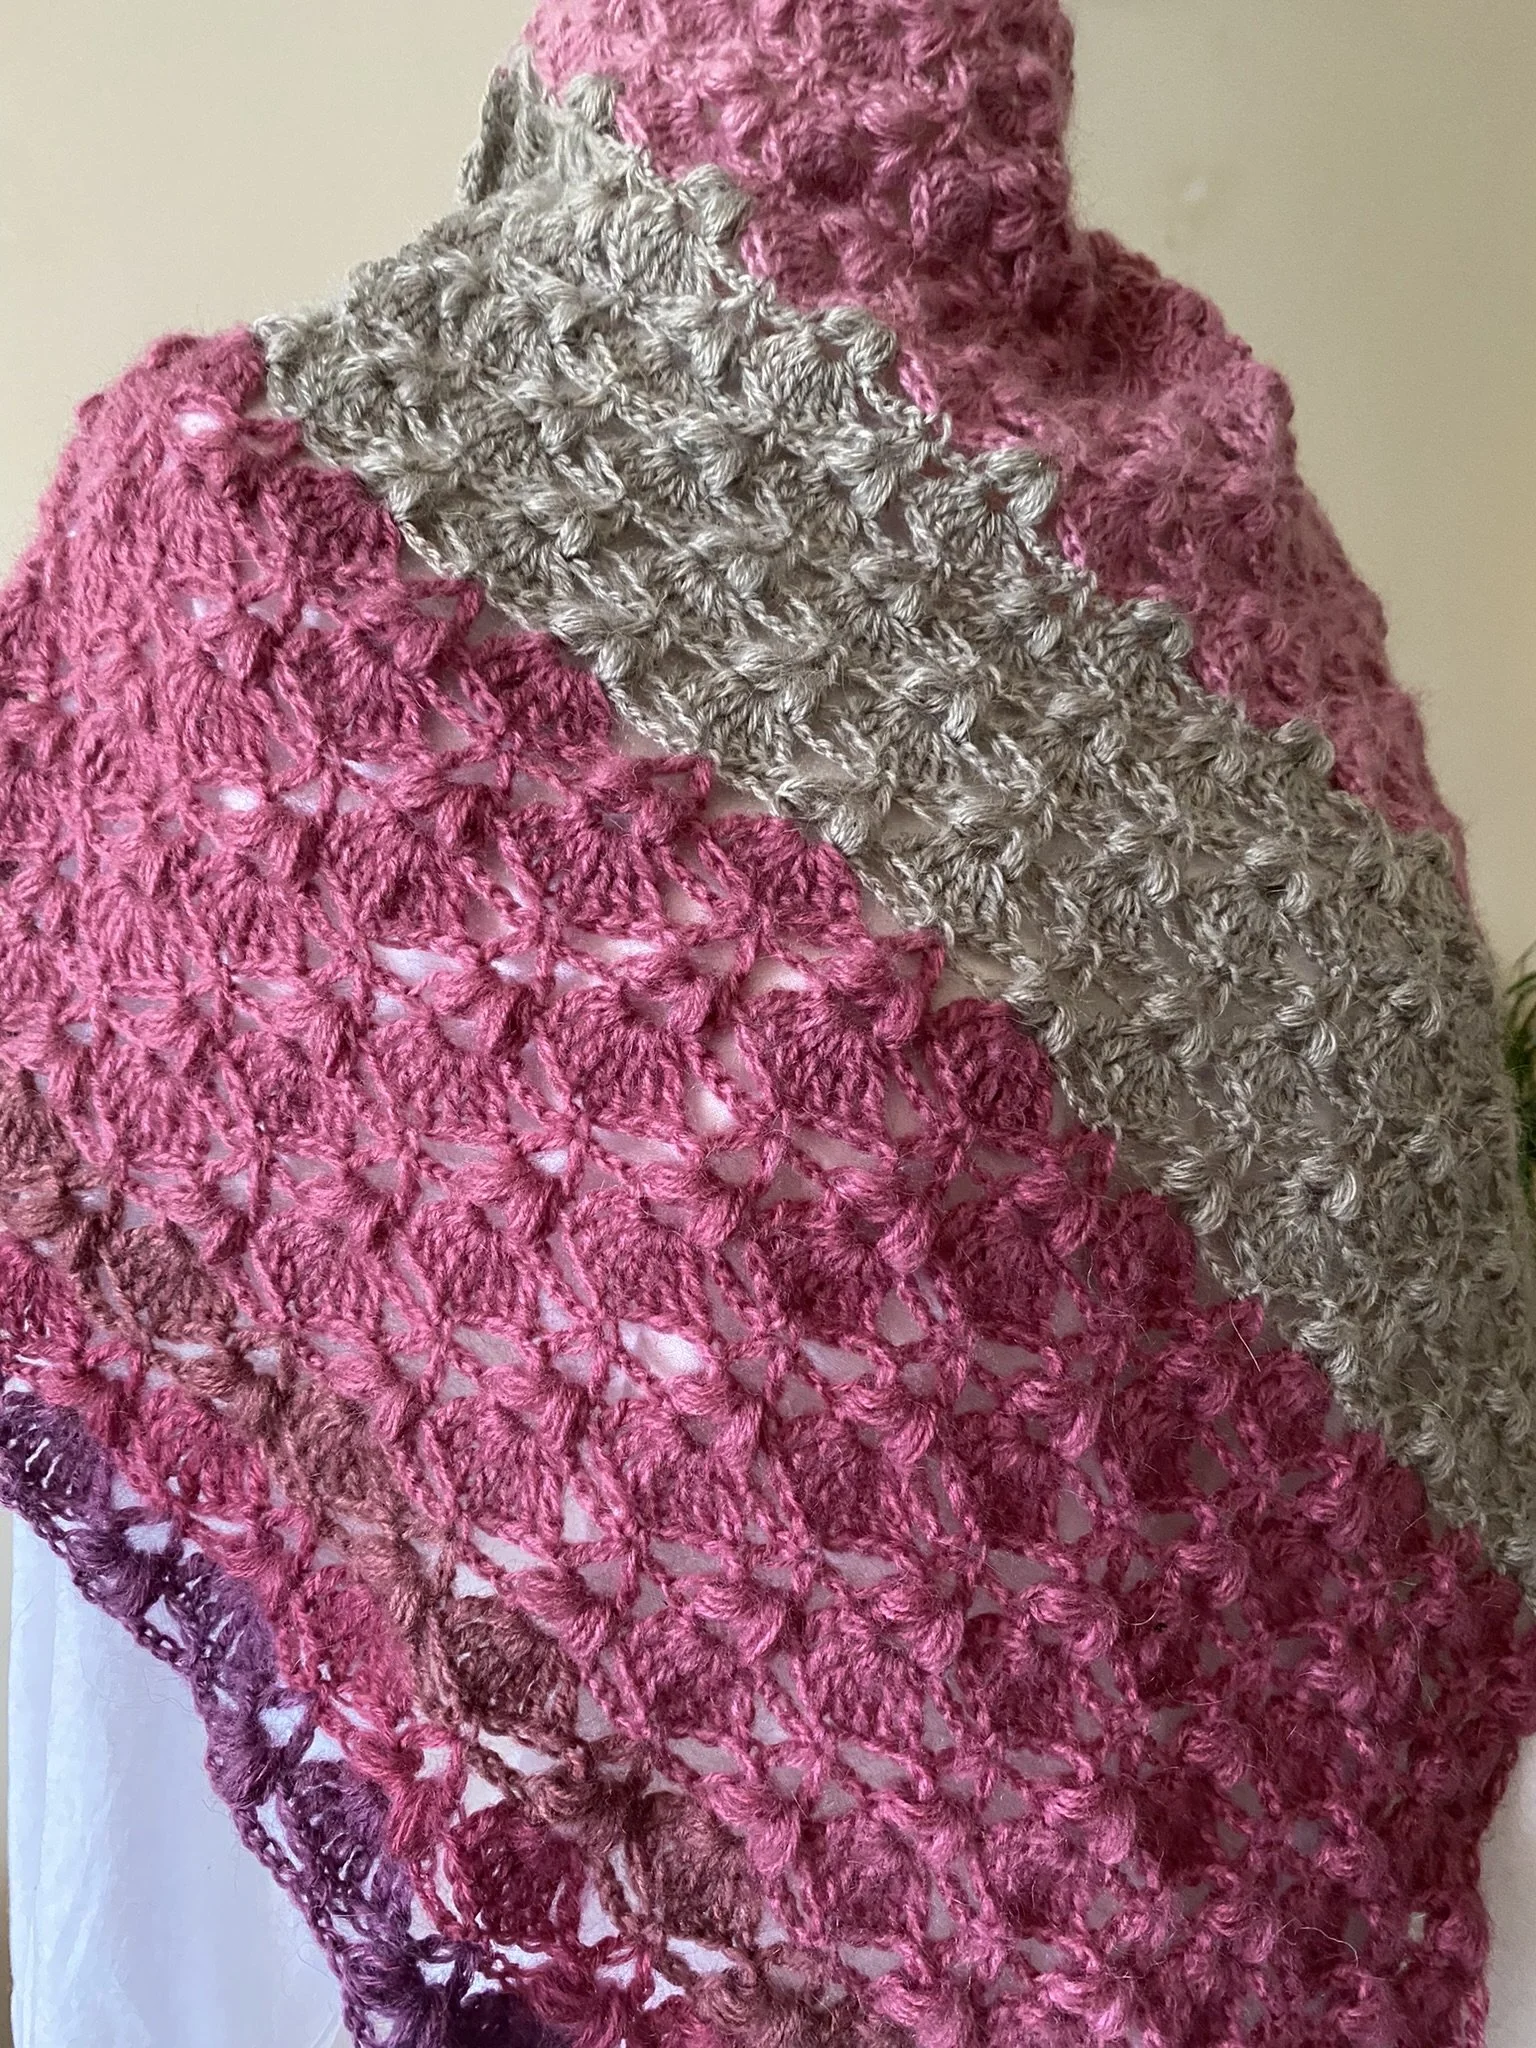
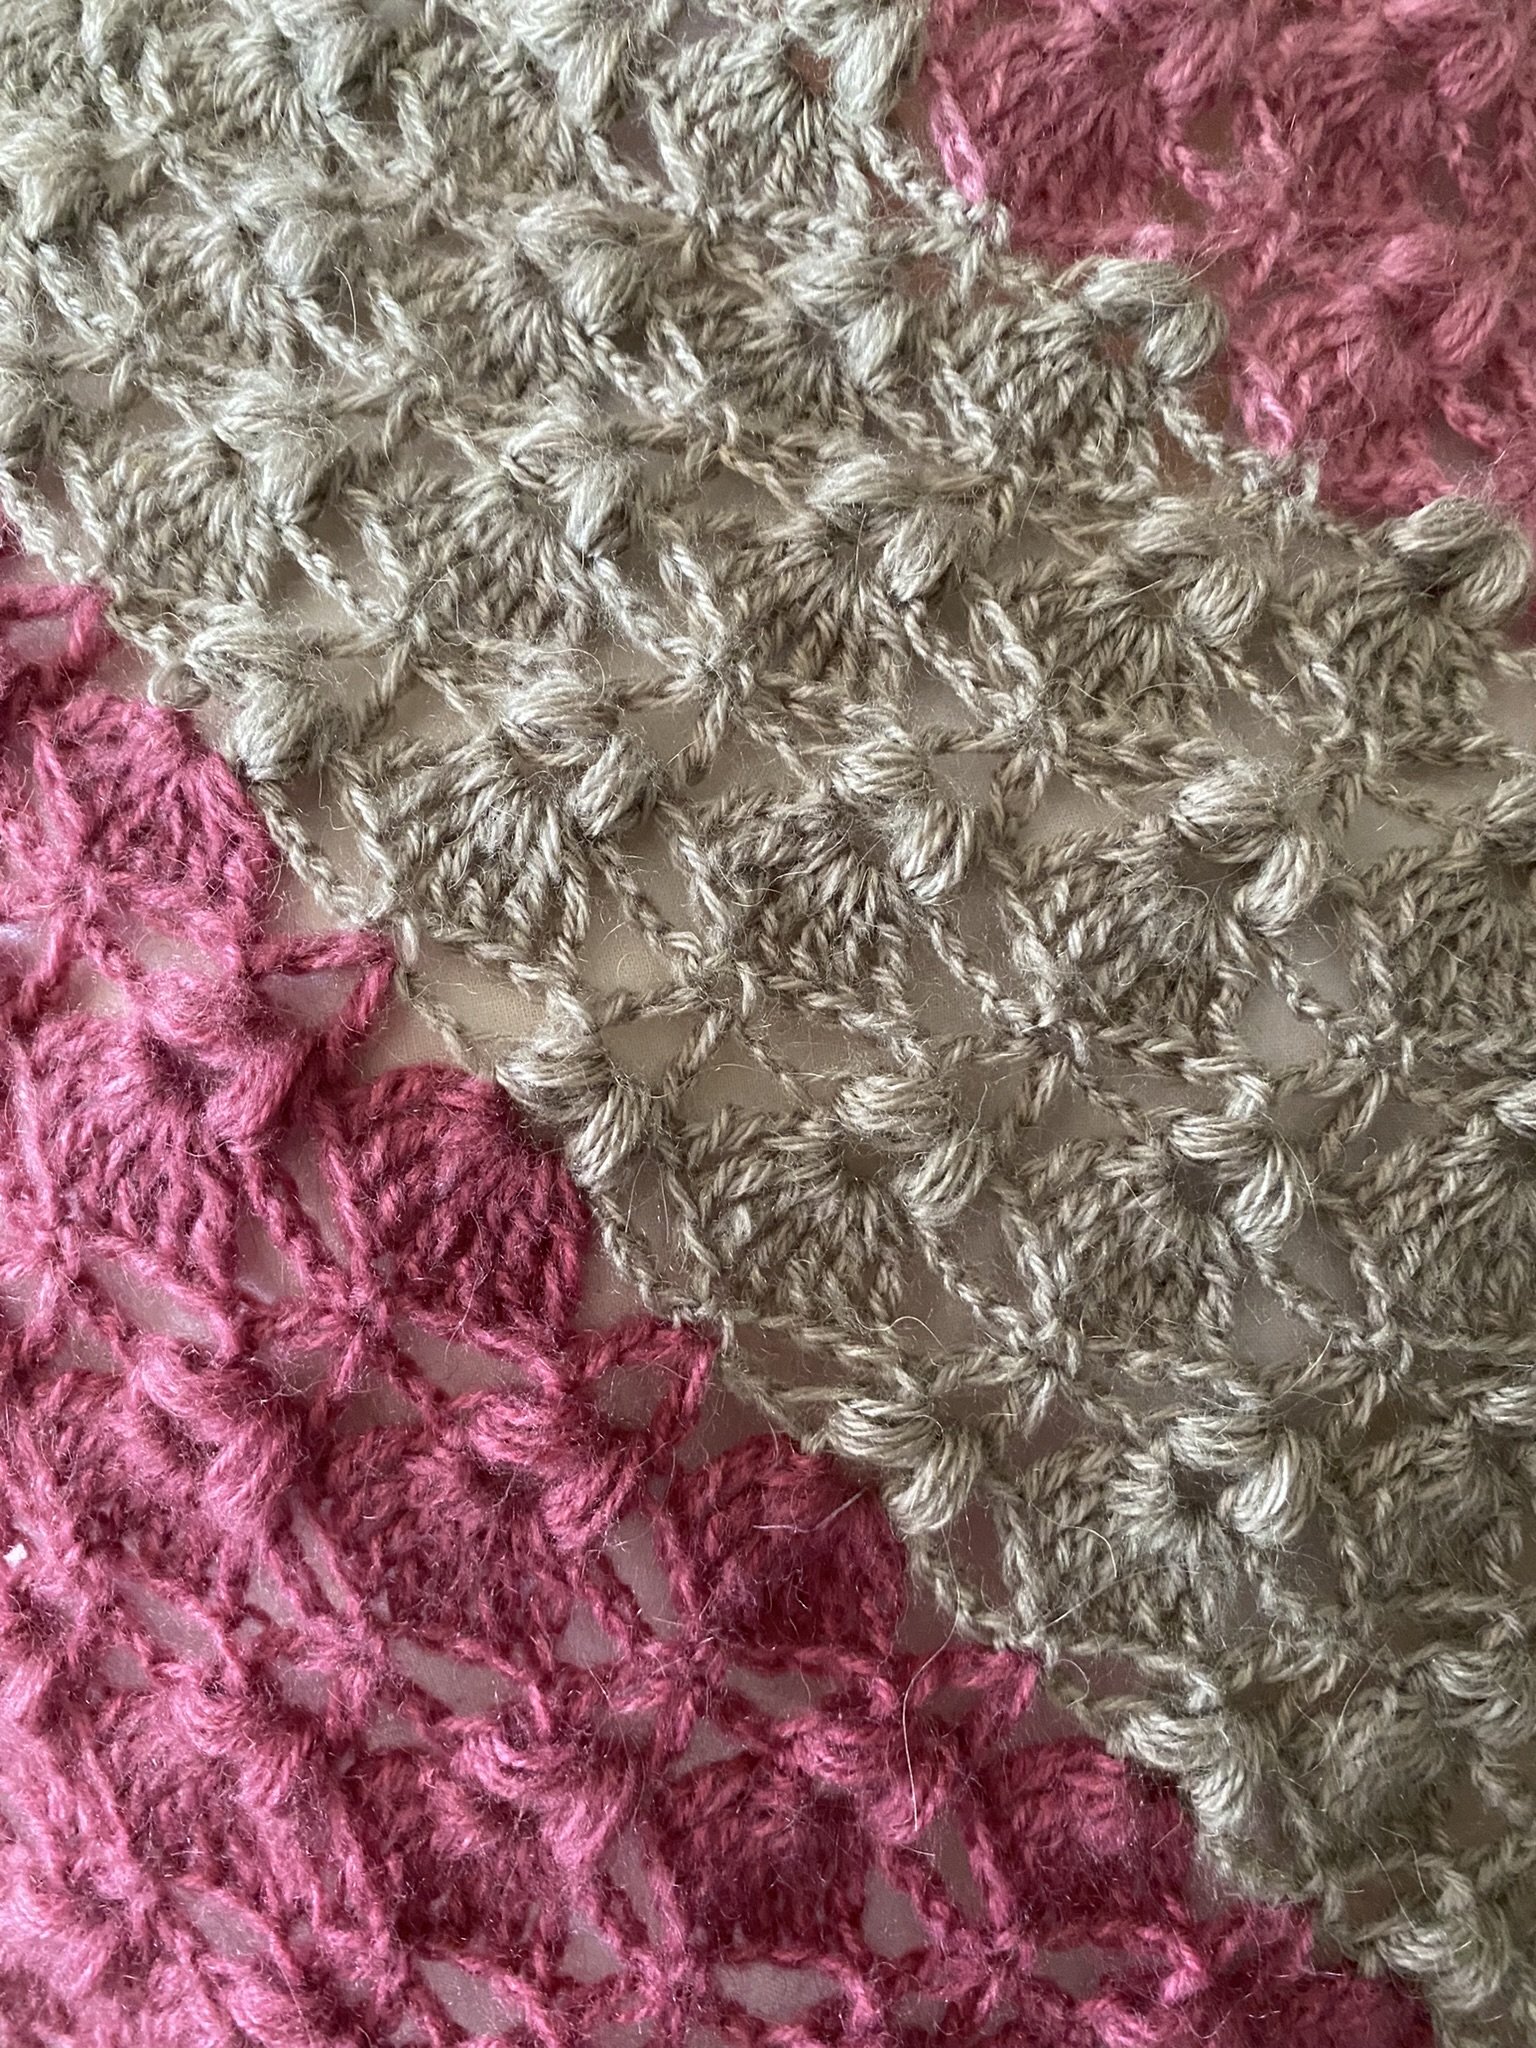
The Blooming Shawl is worked side to side which creates diagonal stripes when working with multiple colours. Equally beautiful in one colour or gradual yarn. The pattern is contemporary, textured and very feminine.
The pattern and instructions are both in UK and USA terminology. Uk is in bold.
You will receive:
The pattern instructions/ diagrams/ photos for the making of the Bloom shawl worked side to side.
Instructions
Yarn
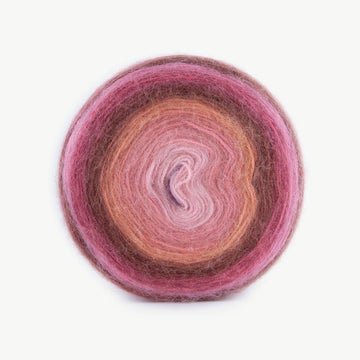
Papatya Angora Yarn Cake 602
Yarnage 800-1100m
Alternatively, use any 4ply yarn of your choice.
Preparation of yarn
Each yarn cake is different even though it includes the same colour palette – if you would like to recreate the shawl as shown you might need to cut the yarn and attach as the colours in the photo are shown.
In addition, I have started each new colour on a new row as I did not want the transition of one colour to another to be in the middle of the row. If you are keen to do this you will have to separate each colour.
Hook used
4mm
Tension/ gauge
The larger the hook i.e. yarn weight the larger the shawl
Size to fit
One size
Resizing
If you would like to make the shawl smaller make less rows. If you would like the shawl to be bigger make more rows or use dk yarn and larger hook.
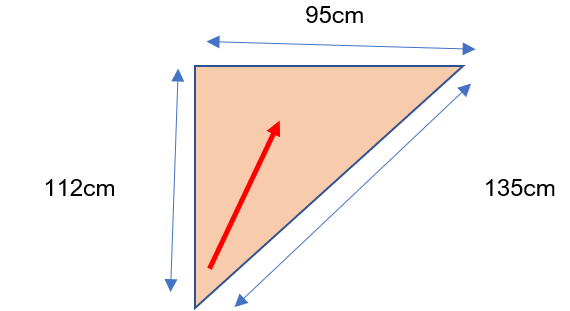
Measurements
The diagram above includes the direction of work as well
Special stitches used
Stitch
USA terminology
UK terminology
Sc/dc
Single crochet sc
Double crochet dc
Dc/tc
Double crochet dc
Treble crochet tc
Tc/dtc
Treble crochet tc
Double treble crochet
Chain
Ch
ch
Dc/tc v stitch
Dc, ch 2, dc
Tc, ch 2, tc
Fan of 7
Fan of 7 tc
Fan of 7 dtc
Puff stitch
Yo 4 times
Yarn over 4 times
Puff v stitch
Puff st, ch 3, puff st
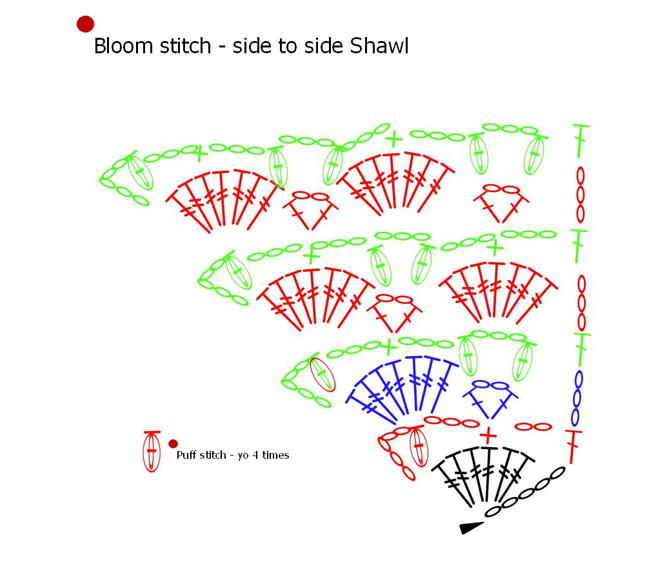
Diagram
Written instructions for the Bloom Shawl
Row
USA terminology
UK terminology
1
Chain 5 – counts as tc
Work 6 tc in the 1st ch
You have made one 7 fan st
Chain 5 – counts as dtc
Work 6 dtc in the 1st ch
You have made one 7 fan st
2
Ch 4, make puff st in the first st
Ch 3
Make sc in the 4th tc of the fan
Ch 3
Dc in the last st
Ch 4, make puff st in the first st
Ch 3
Make dc in the 4th dtc of the fan
Ch 3
tc in the last st
3
Ch 3,
Make dc v st in the sc
Ch 3
Make fan 7 dc in the last st
Ch 3,
Make tc v st in the dc
Ch 3
Make fan 7 tc in the last st
4
Ch 5 – counts as tc +ch1, make a puff st in the first st
Ch 3
Sc in the 4th tc of the fan
Ch 3
Make puff v stitch in the dc v st from previous row,
Ch 5 – counts as dtc +ch1, make a puff st in the first st
Ch 3
dc in the 4th dtc of the fan
Ch 3
Make puff v stitch in the tc v st from previous row,
5
Ch 3
Make 7 tc fan in the puff v st
Make dc v st in the sc
Make tc fan st in the last st
Ch 3
Sc in the 4th tc of the fan
Ch 3
Make 7 dtc fan in the puff v st
Make tc v st in the dc
Make dtc fan st in the last st
Ch 3
dc in the 4th dtc of the fan
6
Ch 5 – counts as tc +ch1, make a puff st in the first st
Ch 3
Sc in the 4th tc of the fan
Ch 3
Make puff v st in the dc v st below
Ch 3
Make sc in the 4th st of the fan
Ch 3
Dc in the last st
Ch 5 – counts as dtc +ch1, make a puff st in the first st
Ch 3
dc in the 4th dtc of the fan
Ch 3
Make puff v st in the tc v st below
Ch 3
Make dc in the 4th st of the fan
Ch 3
tc in the last st
Note
Repeat rows 5 and 6 until the desired length is achieved.
I have made 35 rows ending with a fan st row.
And you are done!
Happy crocheting !
Gordana